
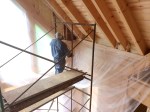
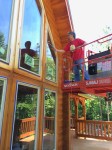
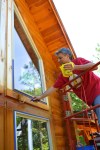
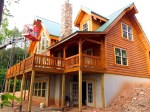
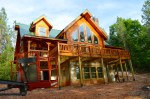
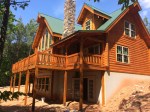
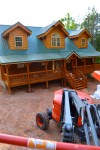
The past two weekends, we’ve turned our attention to putting up the tongue and groove walls on the first floor of the cabin. It’s been great fun to see the rooms finally take shape! Max even joined us on Father’s Day and pitched in…what better time for such a father/son activity as Dave passing on his vast knowledge of construction and the use of power tools to his son?!
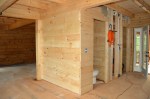
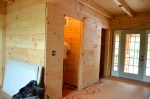
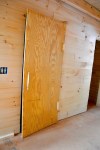
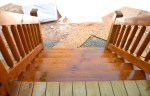
the entrance way
-

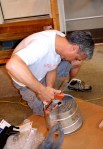
- first order of business… it’s hot and humid in here so we throw together a make-shift air conditioner with a bag of ice and a fan
-

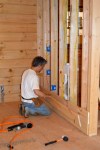
- up goes the entrance way wall
-

- entrance wall up- the door on the left is the half bath and the one on the right is the laundry room
-

- Dave trims out the corner outside of the half bath
-

- first corner done!
-

- entrance way walls both up, but we still need to come back and do the trim work
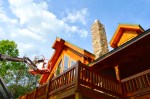
the living room
-

- from the entrance way, we move on to the wall in front of the basement stairs
-

- next, we build the wall to the left of the fireplace
-

- monkey Dave gets creative as he moves up along the wall
-

- almost done!
-

- and, we have our first two story wall
-

- another view of the completed living room wall as viewed from the loft area
-

- this wall also serves to close in the master bedroom as well as the guest room above
-

- next, we put up the wall over the breakfast room
-

- this wall also begins to close in the kid’s room
the master bedroom and bath
in which Max comes along to lend us a hand…
-

- Max and Dave start the day by carrying more tongue and groove into the cabin
-

- only a few more stacks and we can get started
-

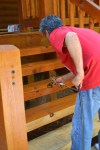
- we start with the wall between the living room and master bedroom
-

- first section of the wall done
-

- we’ve decided to put little treasures in the walls as we close them up, for future generations to find, should they ever open up the walls…in this wall, a little note and a couple of coins dated 2013 (the year construction began)
-

- Safe and Sound insulation goes in between the studs before we put up the tongue and groove
-

- our message is now hidden under the insulation
-

- the wall now complete, our first little treasure is sealed in for who knows how long!
-

- not wanting Dave to have all the fun, I take over while he heads outside to work on the security lights
-

- working my way up the wall between the bedroom and master bathroom, I use the staple gun to attach the t&g to the studs
-

- second wall, done, closing in the master bathroom on the left and the closet on the right
-

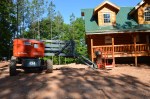
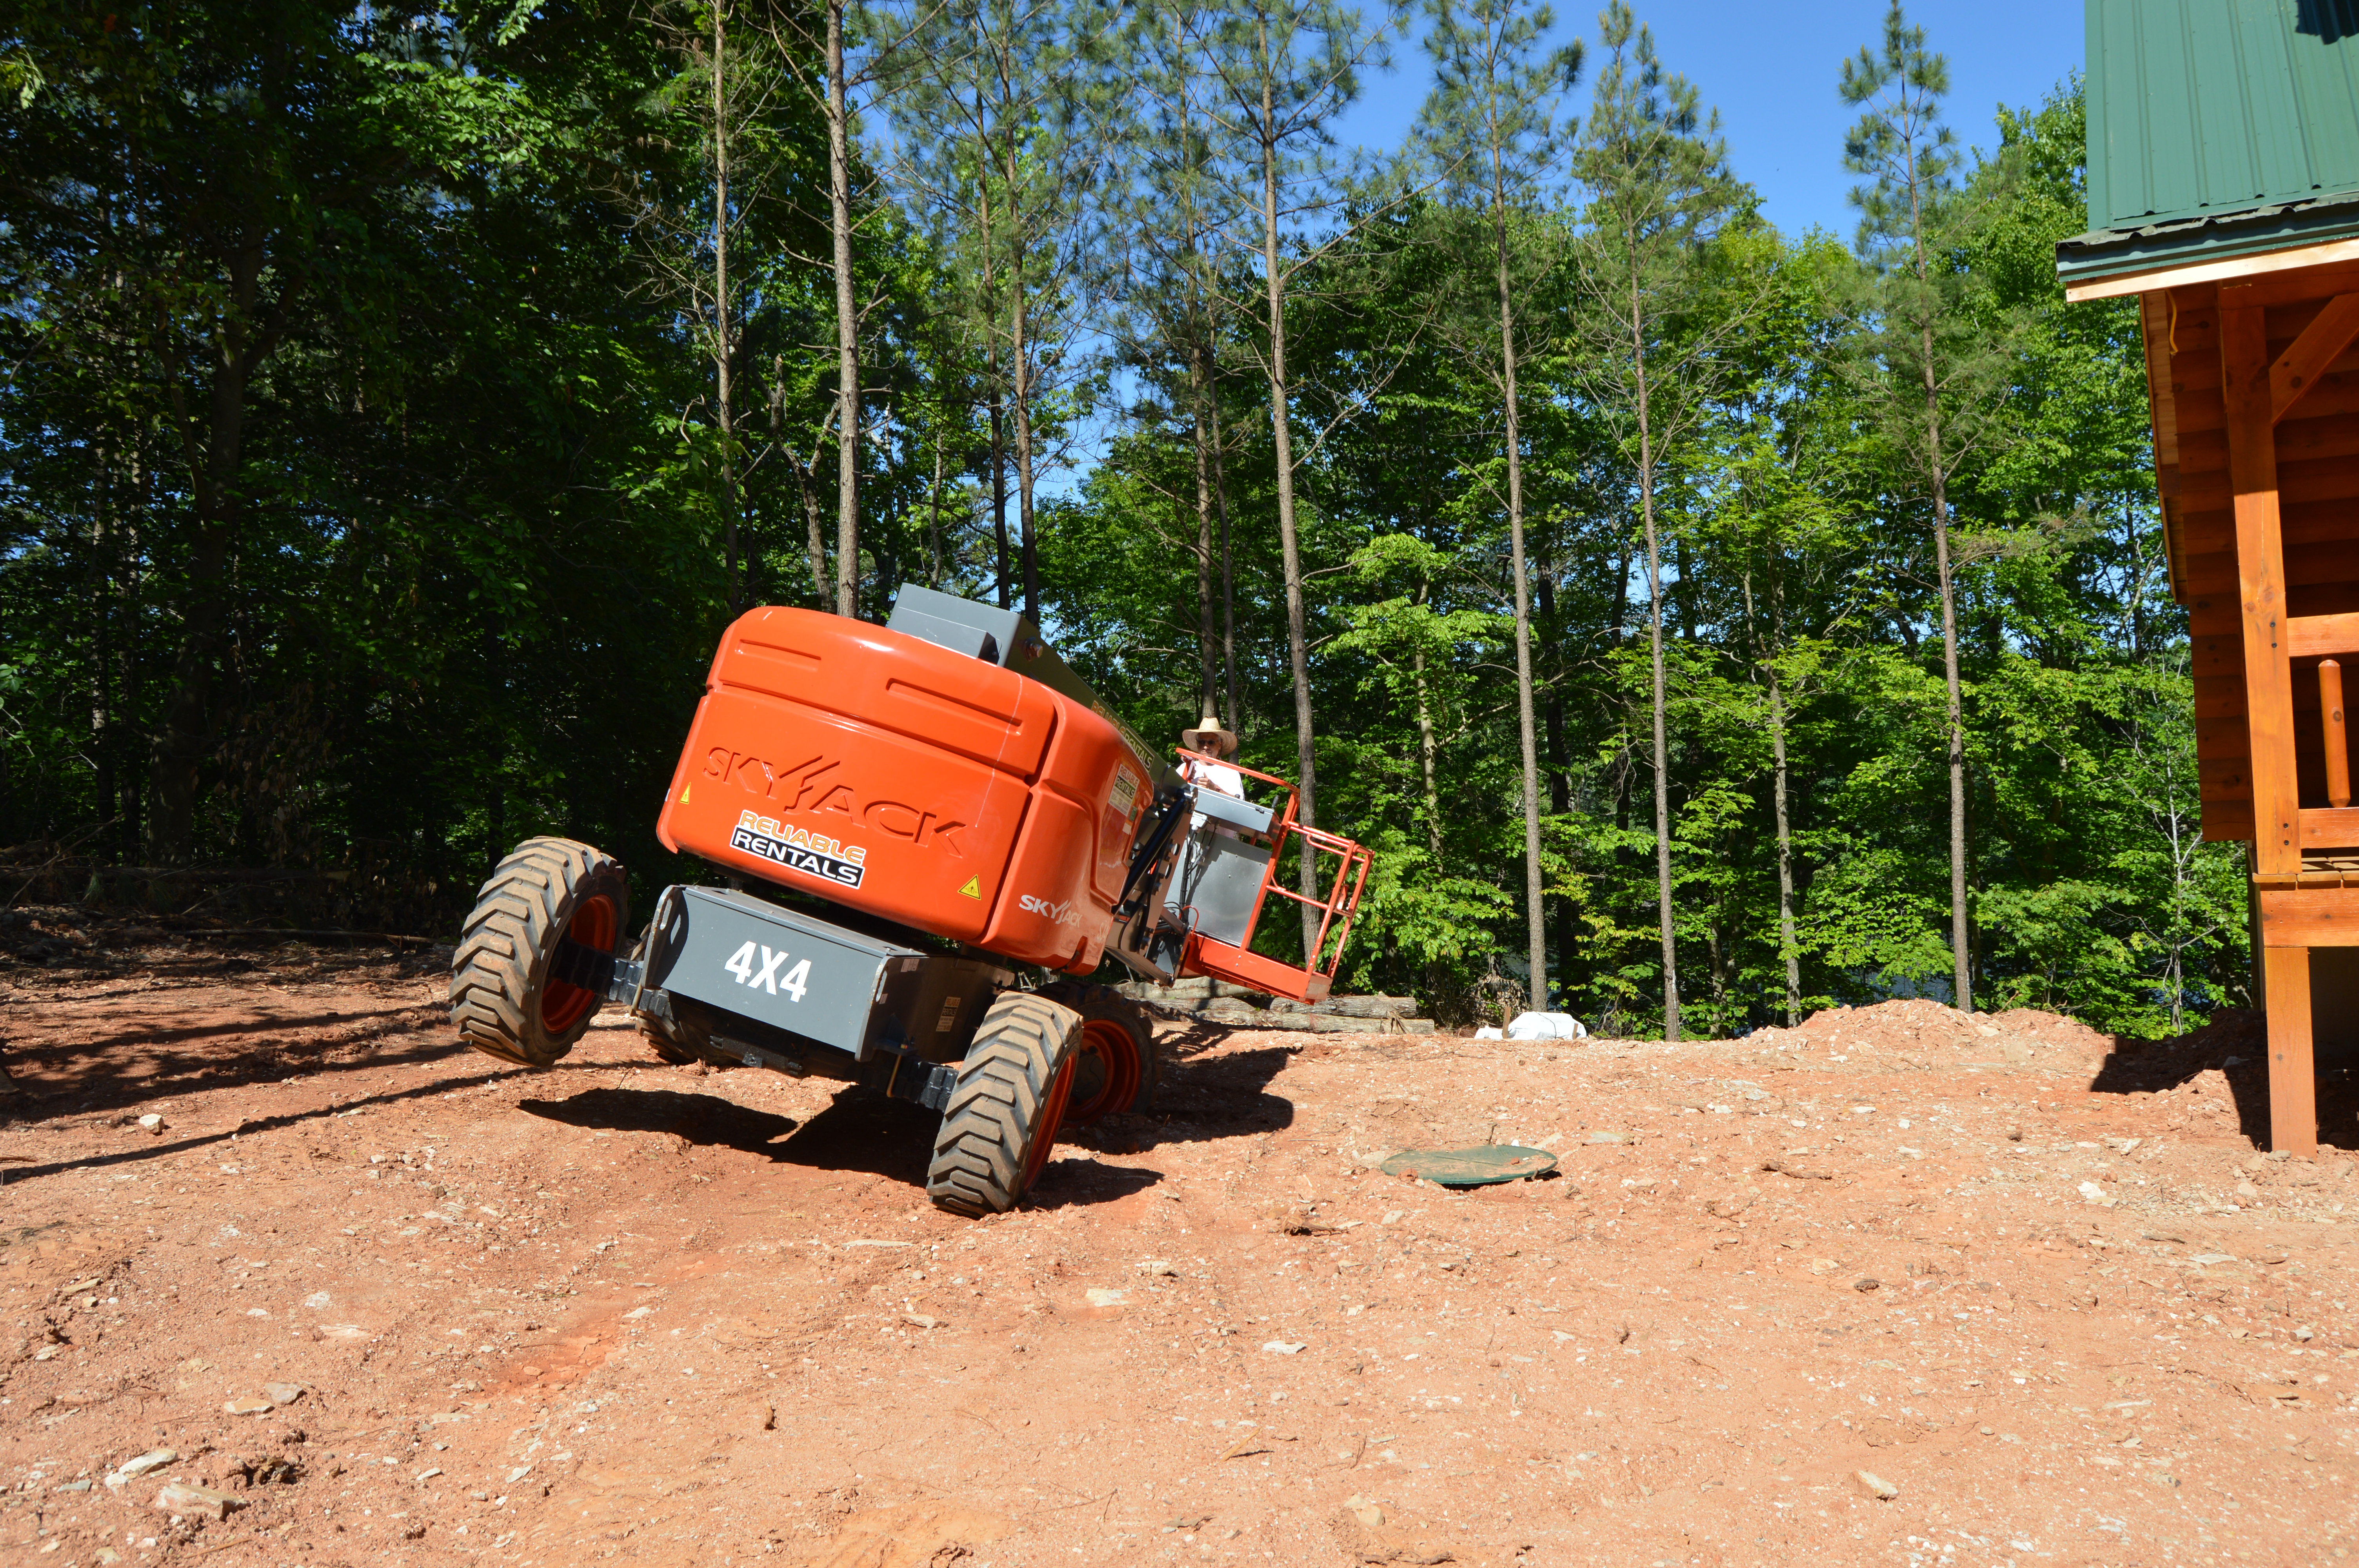
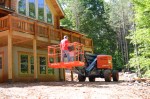
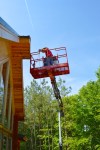
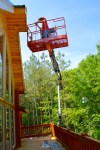
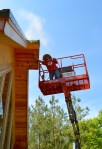
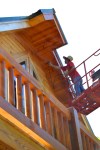
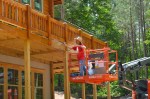
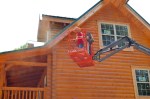
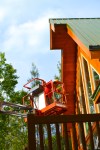
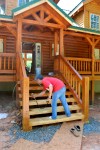
- meanwhile, Dave puts up security lights on the front porch
-

- he places one on each corner of the front porch
-

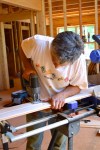
- back inside, Dave shows Max how to use the miter saw
-

- measuring the first board
-

- Max successful cuts his first piece of t&g
-

- Max and Dave work together to built the wall between the master bath and closet
-

- Max pauses to put his John Hancock inside the wall
-

- another fun find for future generations!
-

- next lesson, Dave teaches Max how to measure and cut out a hole in the tongue & groove for the wall outlet
-

- after drawing out the rectangle, with Dave’s help, Max drills holes in each corner
-

- next he uses the jig saw to cut out the rectangle
-

- Dave guides Max along the first cut
-

- Max then takes over and finishes on his own
-

- having successfully cut an opening for the outlet, Max then slides the section of t&g in place
-

- using the rubber mallet, he taps the board in place
-

- switching to the staple gun, he attaches the t&g to the studs behind
-

- one more wall complete
-

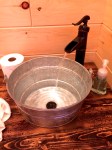
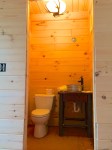
- looking back into the bathroom you can just see the completed wall…our vanity and sink will eventually go against this wall
-

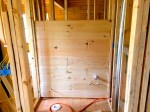
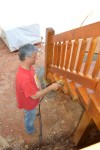
- back inside the bathroom, we begin lining the shower stall with Durock
-

- Max steps in to place a few screws into the Durock
-

- having tired of construction work, Max takes over my camera while I step in to help Dave with the shower stall
-

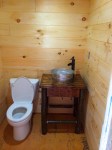
- shower stall is now ready for tile or slate or whatever we finally decide upon!
-

- commode walls finished as well
-

- apparently having screen time withdrawal, Max returns to his spot to the kitchen where his phone and iPad have been waiting
-

- yes Max, I am taking pictures of you texting your girlfriend…and, I’m also putting them on the blog…bwahahahaha
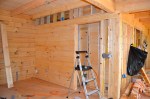
the stairwell
-

- first couple of boards in place
-

- we place more Safe and Sound between the back wall of the shower stall and the stairwell wall
-

- the steps all have to be removed and cut smaller in order to allow room for the tongue and groove to fit between the stairs and the existing studs
-

- Dave removes the log screws that hold in the steps
-

- we decide to just pull up two steps at a time as we work our way up the stairwell
-

- as we place the t&g along the wall, I reattach the newly shortened steps
-

- and, we have stairwell walls!
-

- we still have to come back and trim out the corners, but the walls are done
-

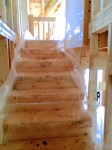
- looking up the stairs at the completed walls
the laundry room
-

- we start with the far wall, between the kitchen and the laundry room, where the washer and dryer will go
-

- ready for the switch plate covers!
-

- moving on to the wall between the laundry room and half bath… the ventpipe for the bathroom fan runs down through this wall
-

- my turn to sign the wall!
-

- second wall up
-

- now for the task of closing in the HVAC box
-

- we place more Safe and Sound to try to lesson the noise of the bathroom pipes that run from the upstairs bathroom and down into the basement
-

- a little time consuming, but we successfully close it all in!
-

- and, once again, except for the corner trim, another room is comlete!


Recent Comments