
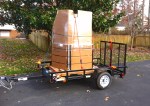
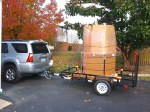
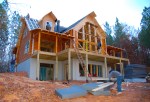
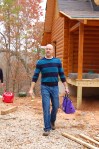
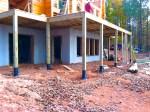
We had been back and forth as to whether we should have a full masonry fireplace built or put in a more efficient wood burning insert. After much research on Dave’s part, we decided on an insert, as long as we could find one that would still give us the look of a massive wood burning fireplace that we feel every log cabin needs. After finding just the right one, Dave, after more research, decided he would be able to install it himself and went ahead and placed the order. Expecting it to arrive after the crew had left, he had it delivered it to our Midlothian residence, hoping it would be in smaller pieces as the total weight would be 600lbs. We were rather surprised when in showed up two days later, on two separate pallets, one of which we were able to break into smaller sections to get into my van, the other, the insert itself, in one complete piece and impossible for Dave and Max to lift even with a hand truck. I’d like to give a shout out to our awesome neighbors, Brian and Jason Astroth, and Bill Durow, who came over to lend Dave a hand in hoisting the massive thing onto our trailer so we could haul it down the the cabin…thanks guys we owe you one!!! Once down at the site, it took all six crew members plus Mr. Lipham and Dave, to heave it up the four feet onto the front porch and then bring it into the great room. Thank goodness they were still here when it arrived! Unfortunately, I was sick that day so there are no photos of the whole production. 😦
-

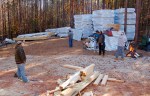
- the giant pallet containing the fireplace
-
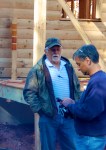
- thanks to Brian, Jason and Bill, the pallet made in onto the trailer!
-
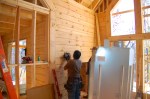
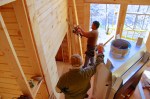
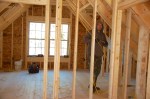
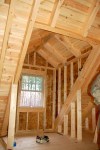
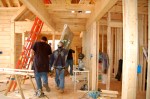
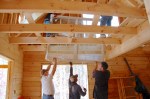
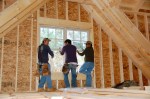
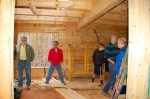
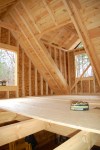
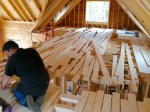
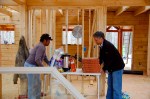
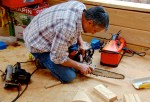
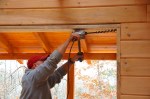
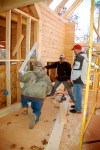
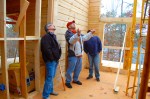
- once in the cabin, they realized the hole for the insert needed to be cut higher in order to be able to slide it in place
-

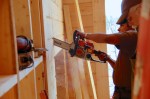
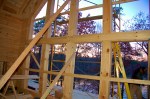
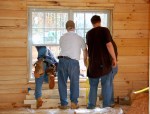
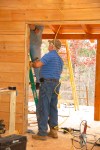
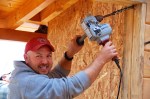
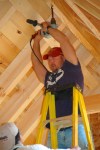
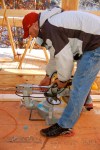
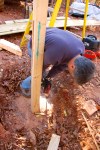
- José saws the log opening
-
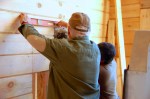
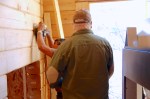
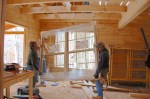
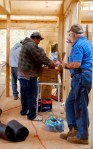
- Mr. Lipham holds the level while José runs the saw
-
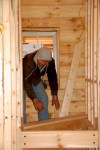
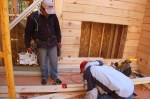
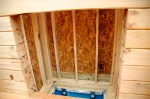
- using the chainsaw, José cuts the vertical lines

-

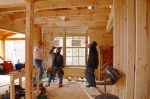
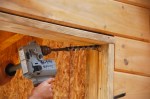
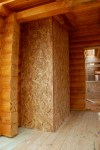
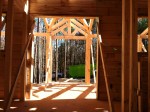
- and voila, we have the beginnings of a fireplace!
-

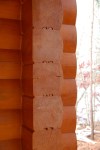
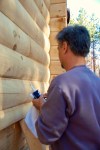
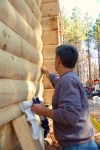
- brick will line the fire box and we will eventually place stones on the surrounding wall so it will look like a masonry fireplace
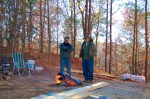
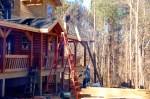
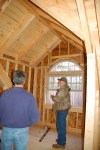
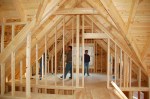
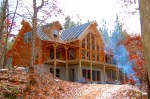
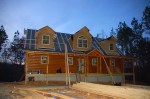
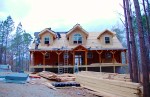
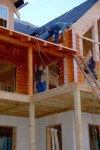
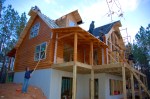
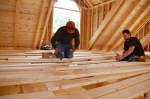
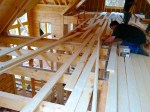
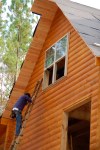
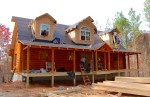
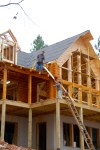
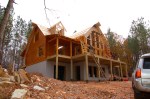
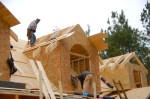
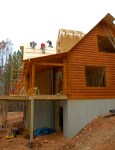
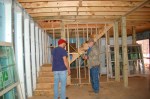
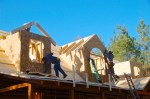
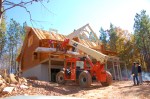
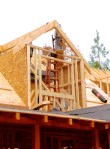
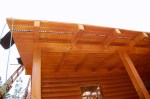
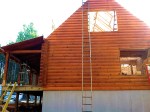
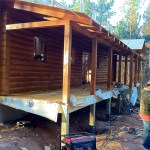
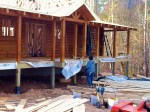
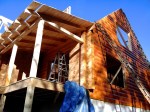
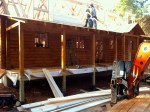
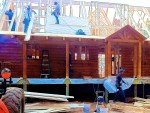
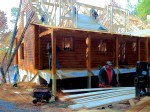
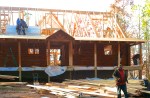
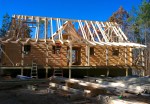
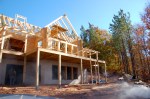
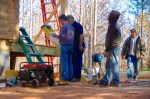
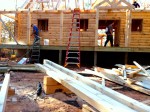
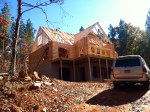
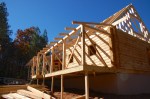
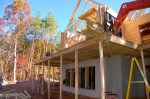
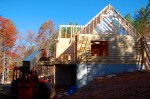
It came as no surprise to Dave and I when the end of today arrived and our Battle Creek crew had yet to wrap things up as we had thought it incredibly optimistic of Mr. Lipham when he set today as the new finish date. They had ended up losing two crew members durning the course of the time that they have been here which has slowed down the progress somewhat and, in addition, there was a discrepancy between what the Battle Creek rep had agreed to have completed for us and what Mr. Lipham and his crew had been expecting to complete. Fortunately for us, Mr. Lipham and crew have been great to work with and, despite running way over their expected finish date, they’ve been knocking out much of the finish work on the outside that they were not expecting to have to do.
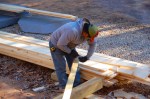
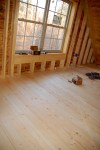
They have spent the past two days working on the roof and porch trim, running more electric, starting the steps between the first and second floor and figuring out where all the railings need to be placed.
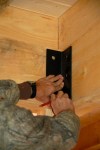
-

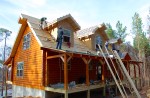
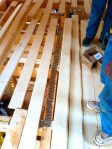
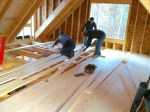
- key showing where each rail piece should go
-

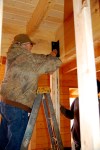
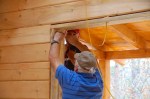
- Dave places the rails in their correct spot on the deck
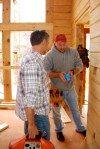
-

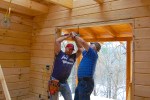
- Mr. Lipham joins in and lends Dave a hand
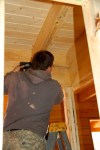
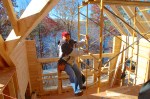
-

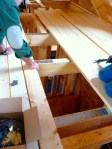
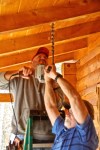
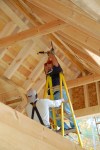
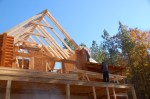
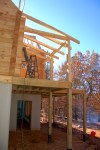
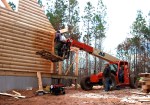
- time to lift the loft rails up to the 2nd floor
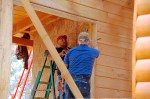
-

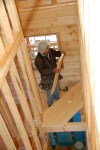
- Mr. Lipham and Dave work together to lift the rail
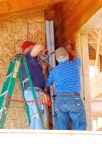
-

- they hand the rail piece up Raymond
-

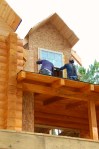
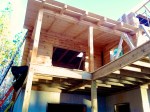
- and now to arrange the porch rails


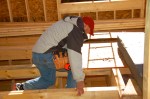
-

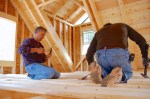
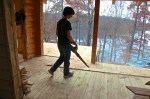
- meanwhile, José begins to work on building the stairs

-
- getting there, slowly but surely
-
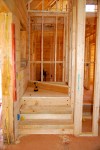
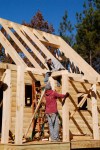
- Dave tries out the first three stairs
-

- José draws a pattern for the stringer that the steps will rest on
-

- he begins to cut out the right angles
-
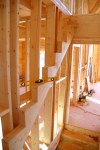
- one stringer in place
-

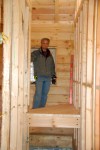
- so far so good!
-
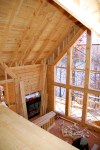
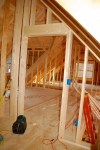
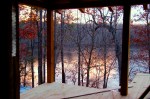
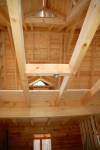
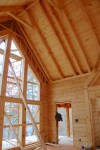
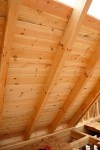
- view of the fireplace from the loft
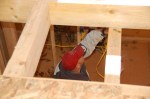
-
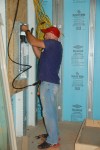
- Raymond continues to work on the 2nd floor wiring
-

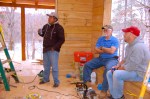
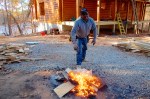
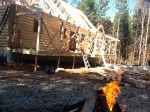
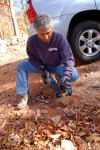
- temperatures below freezing with the wind chill today so Dave cuts up more wood for the fire
-

- on to the fire with the newly cut logs
-
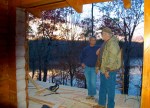
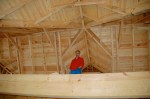
- yep, this is the best place to be this today
-

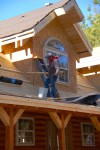
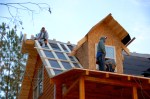
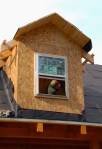
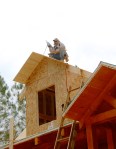
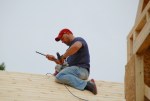
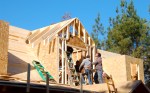
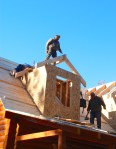
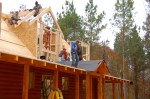
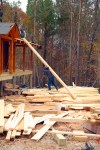
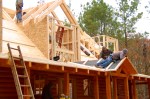
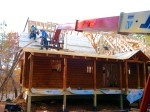
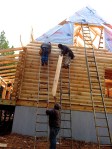
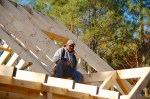
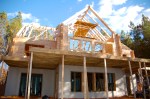
- Nelson, Carlos and Mateo work on the roof and porch trim while Talon cuts boards to hand up

-
- Miguel cuts the boards to the correct length


-
- Miguel throws Mateo another board…they never seem to miss when they throw things to each other!

-

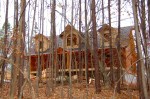
- this should give you an idea of how cold it is today!
-

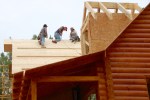
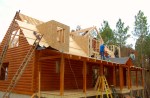
- Carlos hanging out on the roof peak with Nelson just below, waiting for more boards
-
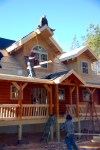
- Talon tosses a board up to Nelson
-

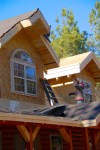
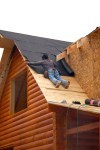
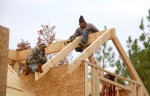
- Mateo nailing the trim
-

- though it doesn’t look possible, Mateo did catch this one as well!

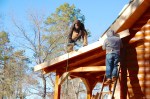
-

- new finish date, tomorrow…I just don’t see it


Recent Comments