
Until this past weekend, in order to enter the cabin through the front door, we’ve had to use a ladder to climb up onto the front porch. Not a big deal but a bit tiresome when you’re carrying tools and various supplies in and out of the place. Finally, after three months of doing just that, we took on the task of building front porch stairs.
Once again, when we arrived at the lake, the temperature was below freezing and the ground was covered in inch and a half ice crystals that seem to grow upwards out of the ground every night. Much fun to step on as they create a very satisfying crunch as you walk…not so much fun once the sun melts them as the melted ice turns the entire work site into a giant pit of mud. Dave hates mud. It makes him grumpy. Especially when his tools fall into it.
-
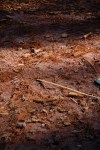
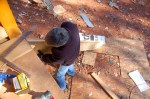
- future mud pit, presently covered in ice crystals
-

- close up of the crystals
-
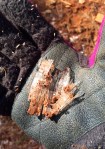
- I tried to pick up a few so you could get a better idea of how long they are
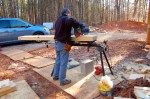
Dave wasted no time in setting up his work station and getting to the task at hand. After digging two holes and placing cement blocks in each to support the stairs, using heavy timber and careful to stay out of the mud, he whipped us out a set of stairs.
-
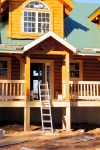
- our usual means of entering the cabin
-
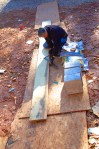
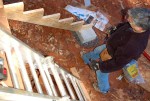
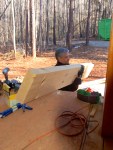
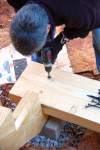
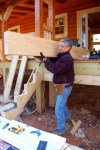
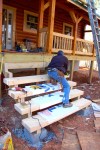
- penciling the step pattern onto the first 2×12
-
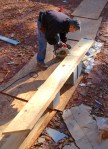
- Dave cuts the first stringer to the correct length
-
- testing to make sure the stringer is the right length
-
- looks good!
-
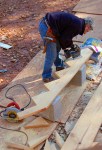
- next, Dave cuts the step pattern into the stringer
-
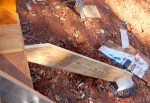
- first stringer in place
-

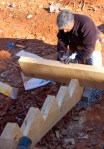
- Dave cuts a second stringer and places it next to the first
-
- he then uses screws to pull the two together
-
- after placing another stringer on the second side, Dave checks to make sure the two sides are level
-
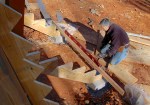
- doubling up the stringers on the second side
-
- evening out the two stringers with a reciprocating saw
-
- yep, Dave find out that heavy timber is, in fact, heavy
-
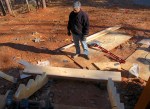
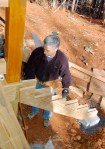
- he steps back and decides how wide to make the steps
-
- then pencils a line where he wants to make the cut
-
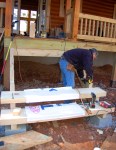
- cutting the first step
-
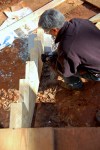
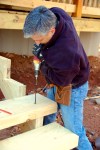
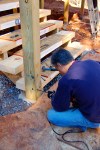
- he then drills out plugs where he will sink the screws
-
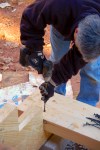
- sinking the first screw
-
- Dave tests out the first step
-
- onto the second step
-
- sinking the screws into the second step
-
- second step, done…
-
- and the third….
-
- and the fourth…
-
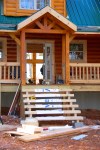
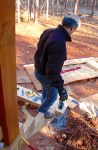
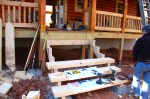
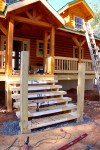
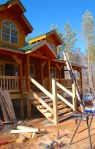
- at last, we have stairs
-
- ahhhh…so much better!
-
- next, to cut pieces of OSB to protect the steps
-

- we will remove the OSB once construction is complete
-
- after cutting two 8×8 squares into the front corners of each side of the first step, Dave tests out the first rail post
-
- he steps back to see if it’s straight
-
- attaching the 8×8 post to the first step
-
- rail posts in place
-
- last, the hand rails go in…we will adjust these and cut the posts the correct height next week
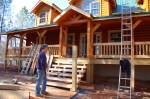
With only a short period of daylight left, we decided to wait and finish the hand rails next week and to move on to finishing the trim around the doors in the back. While working on the trim around the master bedroom door, I looked up to discover a visitor checking out our bedroom…stairs up less than a day and we already had a guest come to check them out! It was an adorable little black and brown beagle mix, who, although very curious, was unfortunately way too skittish to let me come near it. Note to self, bring dog treats next weekend. 🙂
-
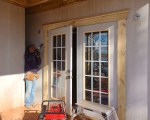
- Dave finishes trimming out and caulking around the french doors
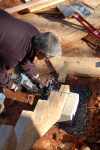
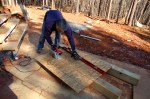
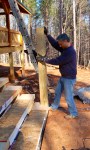
And last on the list of tasks for the day, was to find a log the right size to use for making supports for the fire place mantel.
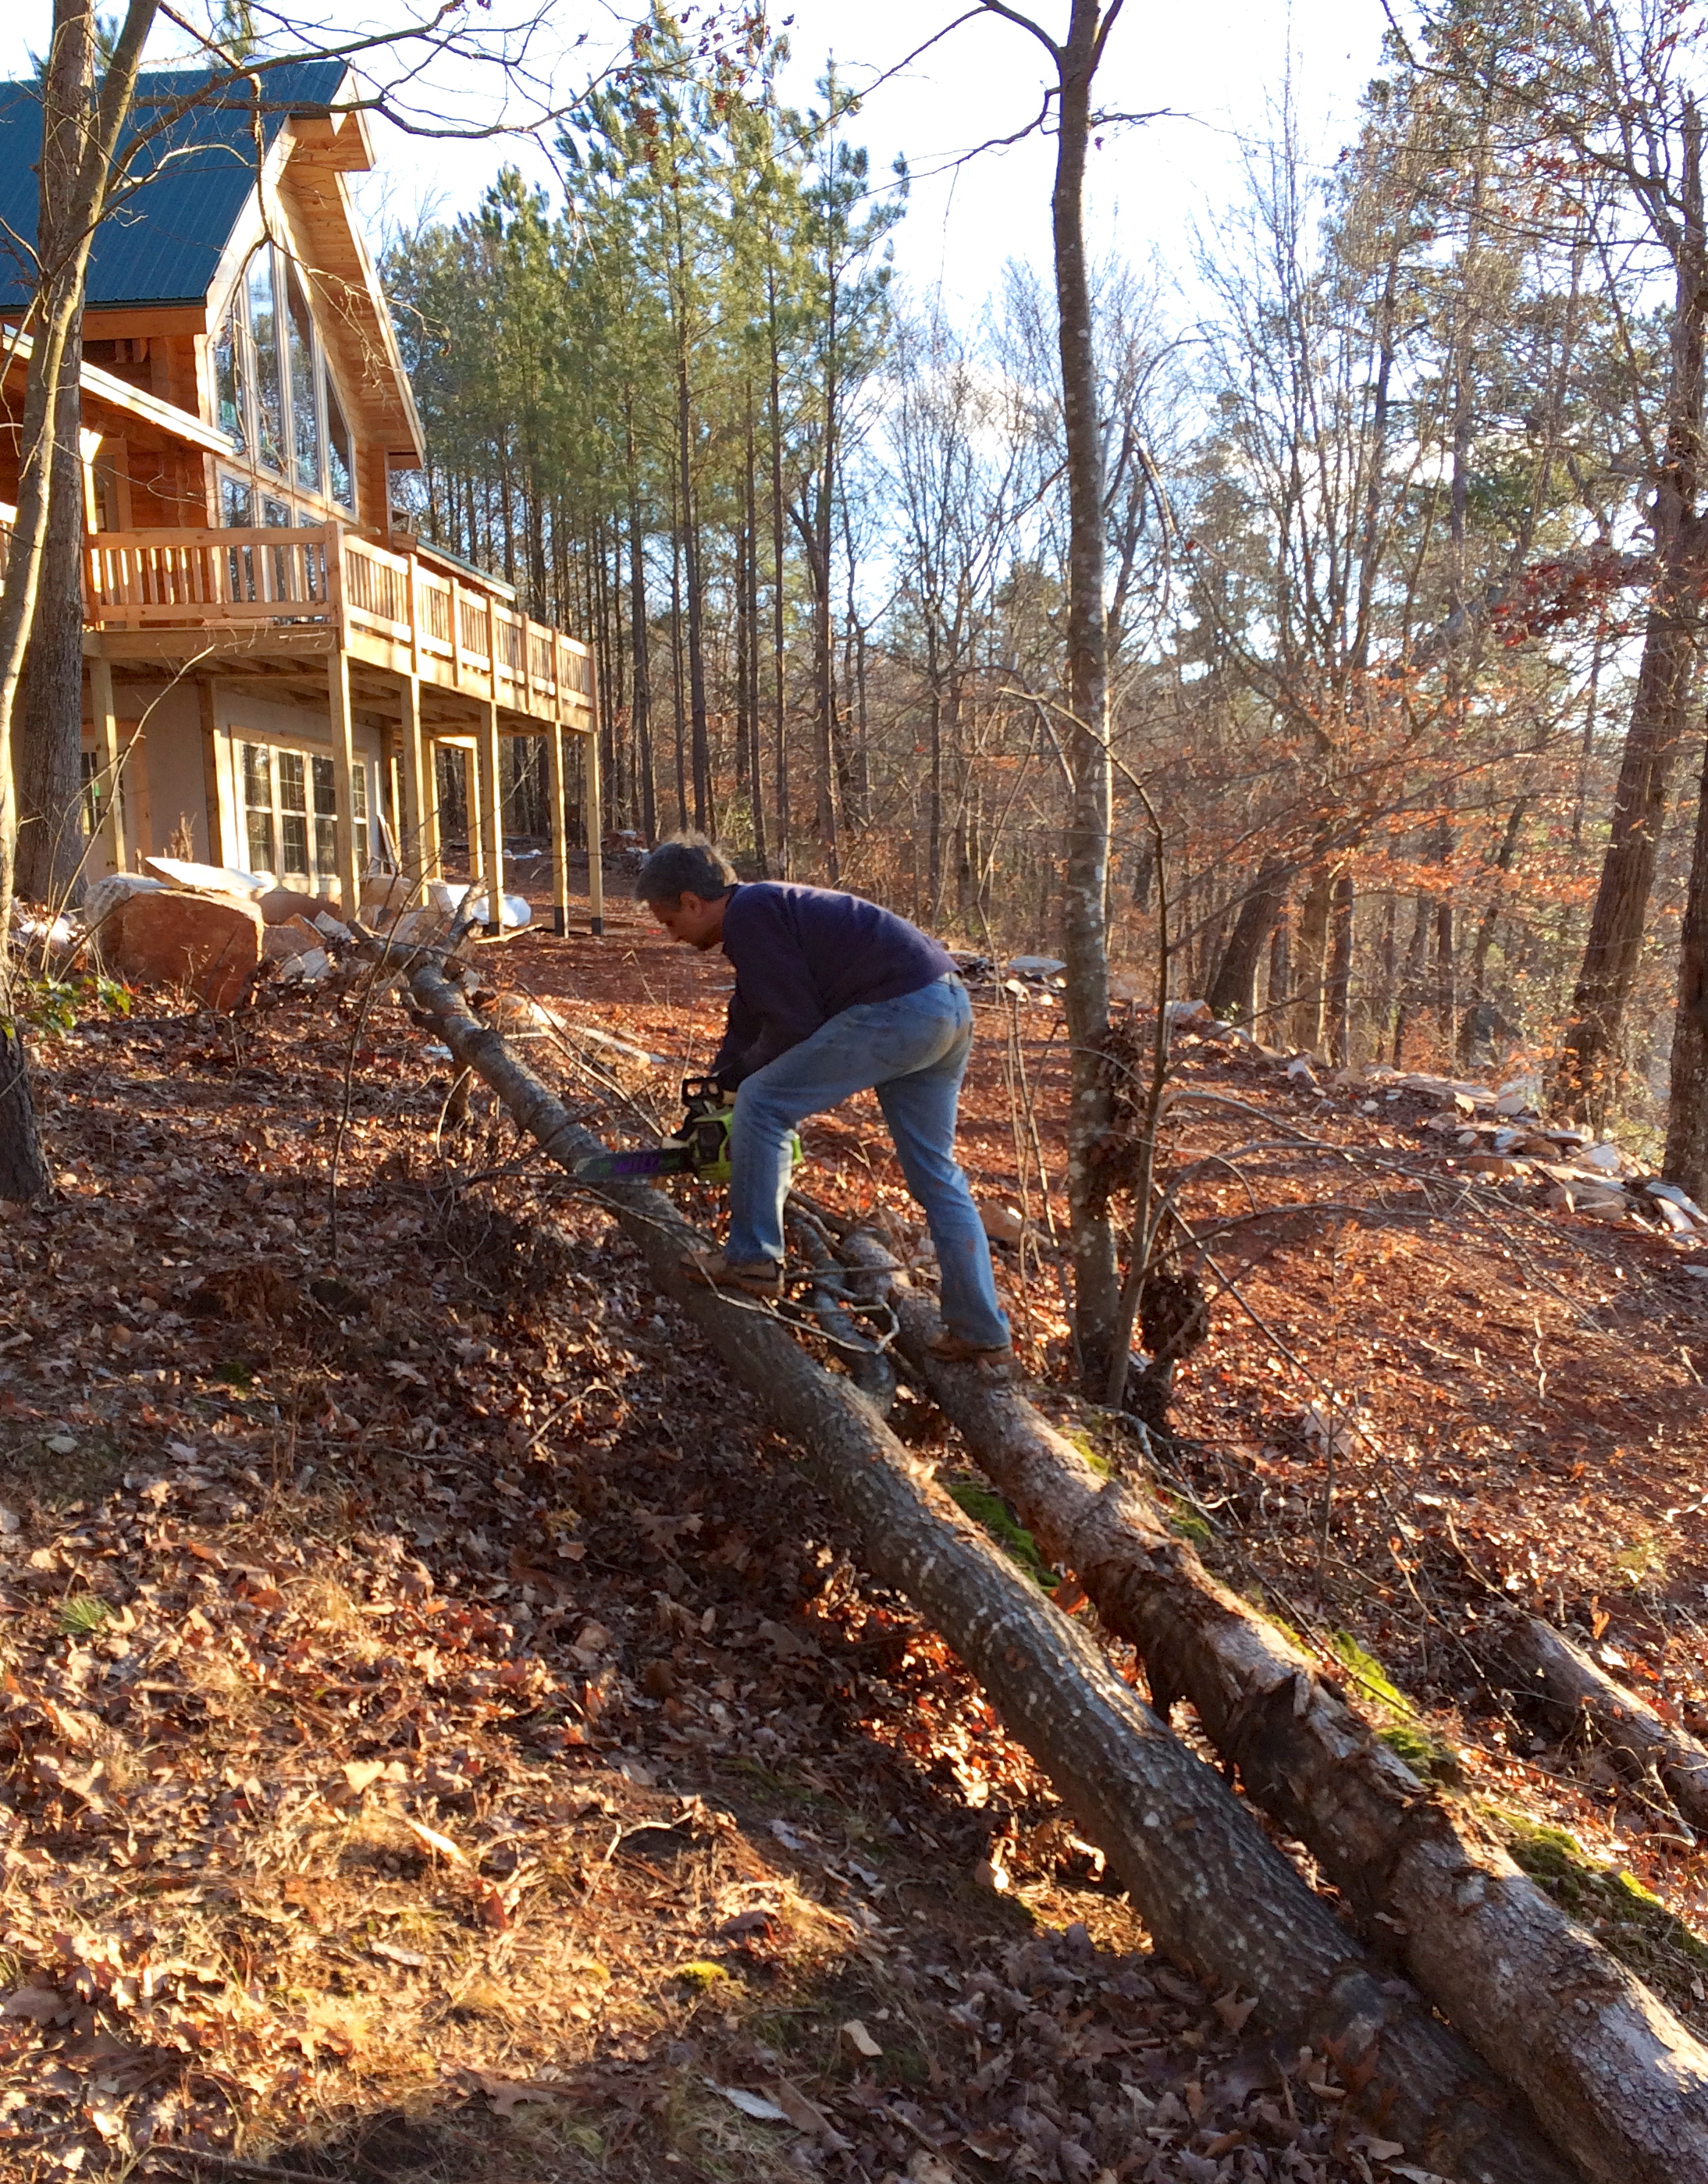
Dave uses the chainsaw to cut two piece of log to make supports for the fireplace mantel

Recent Comments