
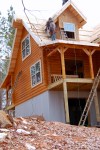
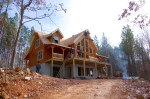
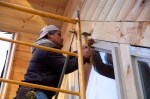
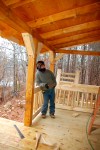
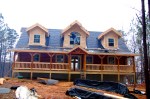
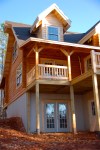
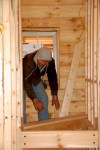
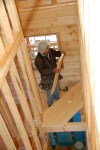
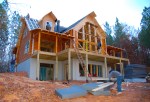
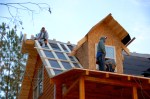
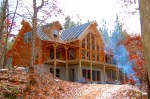
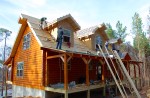
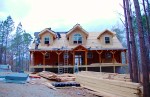
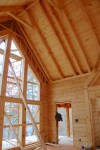
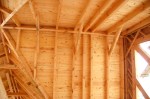
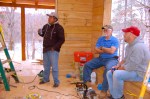
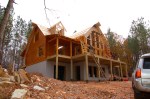
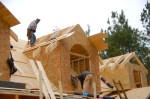
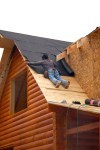
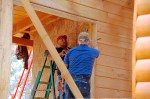
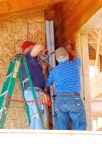
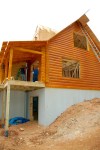
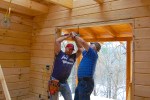
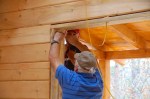
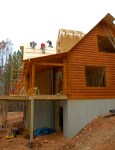
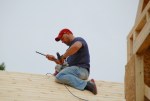
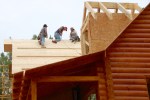
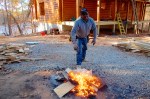
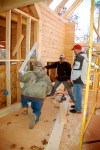
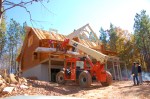
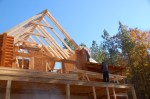
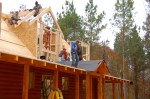
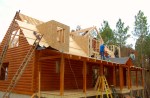
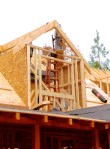
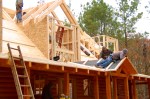
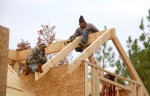
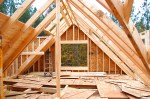
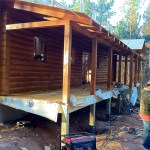
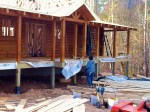
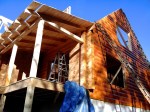
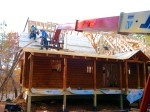
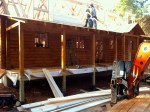
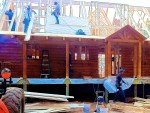
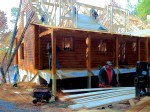
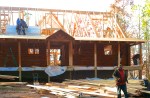
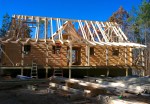
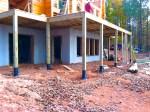
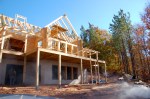
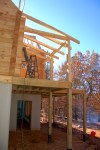
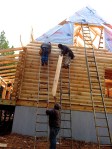
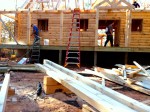
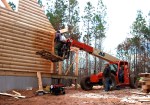
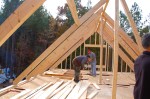
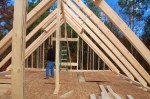
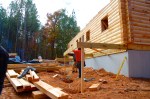
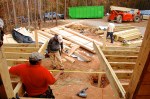
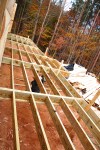
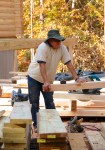
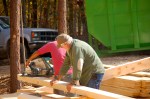
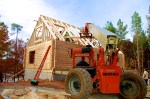
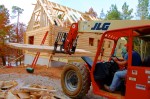
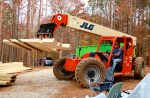
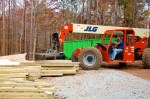
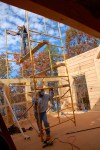
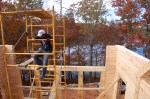
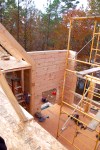
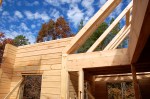
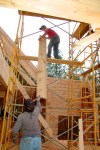
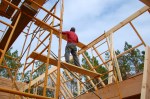
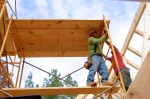
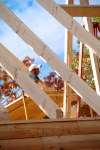
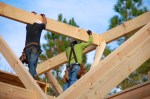
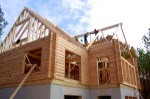
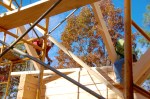
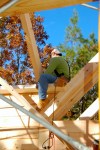
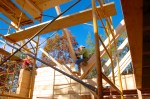
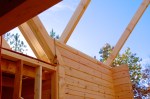
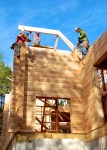
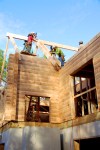
For those of you who have been with us from the beginning, perhaps you will recall that it was the first week in September of 2013 when George Lewis rolled in with his giant Tonka toys and single-handedly cleared our lot, helped us decide how to position our cabin with the best possible view of the lake, and then prepared the site for our lovely home to be built. By mid September, Superior Walls had come in and within hours, we had our foundation in place and were ready to have the logs delivered. On Halloween day, Kenneth Lipham and his amazing team of log home builders From Battle Creek Log Homes arrived and proceeded to work seven days a week, sun up to sun down, to build our “little” fishing cabin. Working in the rain after dark on the final day, using the light from their iPhones, the team finally finished their end of the job and had our cabin dried in. They pulled out on Thanksgiving day. Those were exciting times and Dave and I were lucky enough to be down there almost every day to watch the progress! If you missed It then, feel free to scroll back through our blog archives and check out the process!
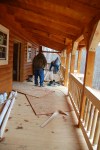
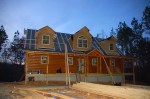
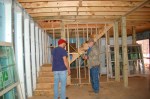
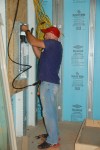
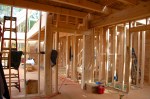
Since my last blog entry, way back in February, all of our energy has been put into pulling the place together to make it a livable home. This is an ongoing process but one we very much look forward to!
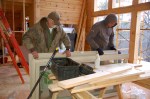
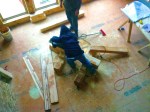
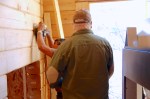
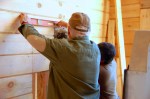
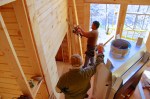
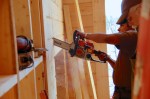
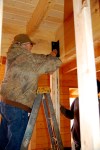
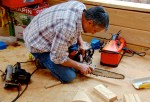
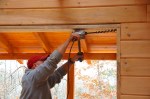
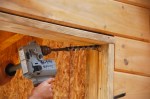
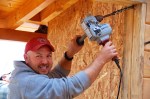
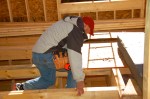
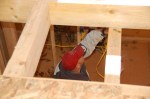
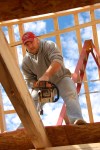
We had been enjoying our fireplace since we’d built our first fire over a year ago, but one thing that had been missing was a mantle. We had chosen a log from one of the hardwood trees that George had left when he cleared the lot, to use for our mantle once we were ready. When we were finally ready to tackle that project, Dave started by sawing the log in half lengthwise, stripped it of it’s bark, and, after several attempts to carve out two arches that would rest perfectly on the two protruding logs he had attached when the fireplace was built, he was finally successful and our new mantel was ready to put into place!
-

- Dave attaches the guide to his chainsaw
-

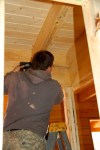
- here goes nothun!
-

- almost there!
-

- nephew, Zarek, steps in to give Dave a hand turning the split log over
-

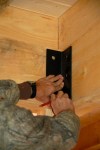
- now to remove the bark
-

- looks like fun, right?!
-

- sometime later….
-

- Max joins in to help Dave and Zarek carry the log under the deck to dry
-

- the finished mantel!
With the fireplace done at last, we moved on to finishing the breakfast bar. We had gone back and forth about how to finish off the side facing the dining area and in the end decided to use some of the left over stone from the fireplace. Three tractor-seat stools we found at Sams Club (of all places) turned out to be the perfect accessories to complete the kitchen/dining area!


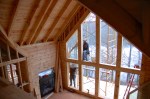
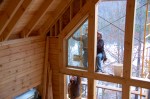
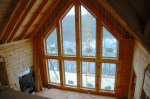
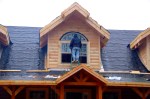
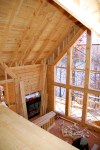
Another item that we spent much time deciding over, was what to do about window treatments for the wall of windows over looking the lake. We discovered early on that the sun beats in through the windows by early afternoon and creates quite the heat box in the living room. We needed to figure out something that would protect the interior from sun damage and to keep the place a little cooler, without destroying our beautiful view of the lake or the cozy cabin feeling of the great-room. We perused many a log home magazine looking for ideas, but finding nothing we liked there, we settled upon custom made plantation shutters, crafted by a company called Shenandoah Shutters out of Richmond, Va. This was NOT a cheap option so we were extremely nervous about how the end product was going to look. Thankfully, we were thrilled with the end results once they were installed!
-

- measuring the windows
-

- they’d never tackled a project quite like this but assured us they were up to the task
-

- they did not disappoint!


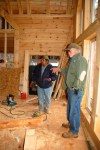
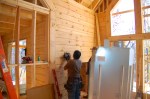
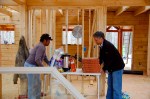
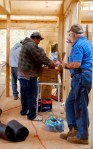
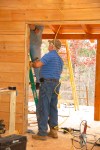
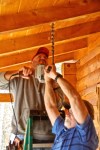
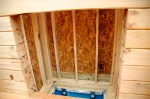
With all of the main projects completed, aside from installing bathroom vanities that we’d been waiting for since January, our time was spent tackling odds and ends that still needed to be taken care of.
-

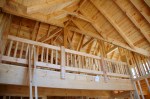
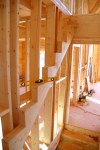
- hand rails going upstairs

-

- basement rails

-

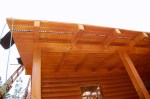
- fans and light fixtures on the deck
-

- fun new lights created with actual Bell jars!
-

- dave finally gets his fishing boat
-

- and a fancy new grill for the deck
-

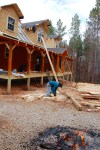
- Dave spent a few days digging trenches to run drainage pipes from the down spouts out into the woods
-

- …so sorry I missed this task. 🙂
-

- using some of the rocks that had been laying around, he built stairs going up to the picnic area
-

- the doors look much better painted green!
-

- our Coleman Cabin sign finally finds a home!
-

- we found this fun hat rack at Green Front furniture while we were shopping for carpets
-

- whew, it just fit!
-

- new carpet in the kid’s room
-

- and a new carpet in the guest room…
-

- and one in our room as well
-

- the bear head Dave’s office gave him last year finally makes it to the cabin

-

- at Max’s suggestion, I repainted this sign to look like our own resident lake dog, Waffles
-

- no home is complete without a mailbox so Dave spent a day building a post and putting up the mailbox…off the road a bit to reduce the chance of it getting hit
-

- this should make finding the place a little easier
-

- and after complaints from the mailman, Dave moved the mailbox to the otherside of the driveway, closer to the road…only took a week for someone to wack it and put a dent in it!
Still patiently waiting for our bathroom vanities to arrive, we didn’t let that stop us from having friends and family down to enjoy the place. After all, we did have two working sinks and both showers and toilets in working order as well, so when 4th of July rolled around, we decided it was high time to host our first neighborhood party, complete with real fireworks shipped up from South Carolina! It was a huge success and probably the most action Colemans Lake had seen it years!
-

- Maharlika, Zarek and Max hang out on the back deck
-

- cousins, doing the “Monkees” walk down the front steps
-

- BFF, Susheela joins us for my birthday!

-

- a surprise visit from Ned and Marla, the last Colemans to live on the lake…it was such a pleasure to meet them at long last!!!
-

- Dave finally relaxes on the dock with the hounds

-

- Max and Dave take a spin around the lake in our new fishing boat

-

- long time friends, Dan, Kris, Matthew and Sophia Clarke, join us for a cook out
-

- cousins Rachel and Stephanie join us for the 4th of July


-

- Frank, Betty, Stephanie and Dave hang out with the neighbors on the 4th
-

- Dave and Max had a blast shooting off fireworks from the dock
-

- the game camera catches the crowd leaving after having much fun on the 4th
When August rolled around, we had one last summer get together with the family before the kids head off to school…
-

- Zarek and Maharlika take on their cousins in a game of bean bag toss
-

- Jake and Adam’s turn
-

- Megan watches the game from her perch on top the ATV
-

- Dave joins Megan to watch the game
-

- as the sun starts to fade, the kids decide to take the boat out for a spin


-

- dinner time

-

- hanging out after dark on the deck
-

- a little tv time the next morning
-

- the boys decided to swim to the otherside of the lake, not realizing how far it actually is…Dave, Megan and Waffles take the boat out to rescue them 🙂
-

- they were much relieved they didn’t have to swim back!
-

- the tired crew goof around on the dock
-

- love these boys…I hope they remember the fun they’ve had here for years to come…after all, that’s what we built this place for!
And finally, nine months after our initial order was placed, our bathroom vanities arrive!!!
-

- the master bathroom


-

- upstairs bathroom

-

- Dave is working on making mirrors to match the on he did for the halfbath downstairs

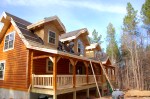
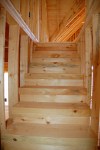
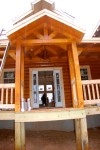
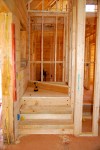
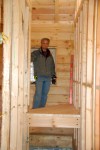
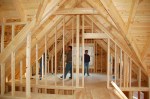
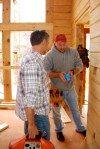
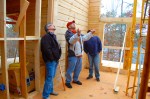
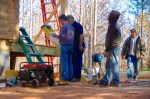
And so, with the vanities finally in place, two years after construction began, we were ready to have the county inspector out for our final inspection. We passed the erosion and sediment control inspection with flying colors but, although over all the inspector loved what we’ve done with the entire cabin, we had one minor, teensy-weensy detail that prevented him from giving us his seal of approval…the wooden handrails! Apparently, handrails need to be narrow enough for a person to grip with their entire hand. The 4″ x 4″ beams we used on the front steps as well as the 2″ x 4″ on the basement steps, don’t fit the bill. Details. We’ll add a metal pipe handrail, like the one used going up to the second floor, along one side of the front porch rail and also replace the basement hand rail with the same. Easy peasy!
-

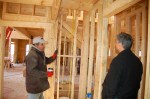
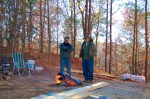
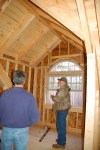
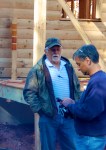
- waiting patiently while the inspector does his thing
-

- Dave takes notes while the inspector makes suggestions about little improvements he would make
-

- one seal of approval!
-

- our achilles heel…who knew you need to be able to grip the entire rail and pull yourself up the stairs???
-

- the second handrail to fail
-

- no seal of approval today 😦
So we’re still not done, but soon, very soon…we will meet again, Mr Inspector….


Recent Comments