
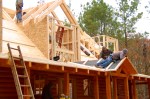
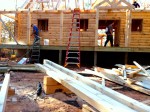
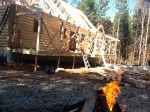
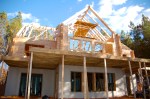
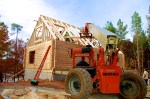
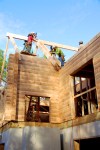
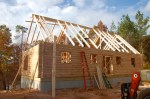
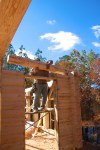
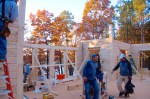
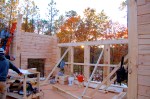
We were very happy to have both Andy and José rejoin our team today! Despite a few snow flurries and crazy cold wind blowing off the lake, the crew started on schedule and began to close in the second floor dormers on the front of the cabin and to lay the first layer of felting on the roof.
-

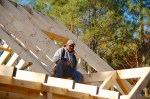
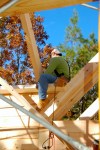
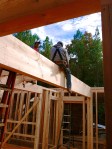
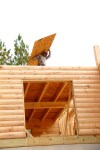
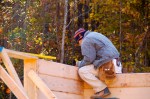
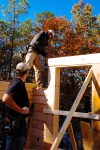
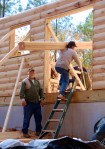
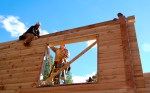
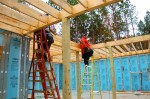
- Andy, just back from Alabama, pops up on the roof to chat with Gordo
-
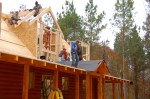
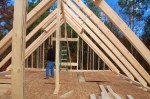
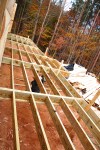
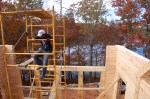
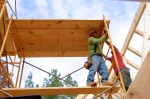
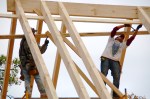
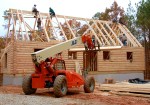
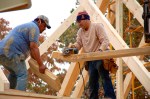
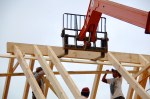
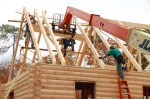
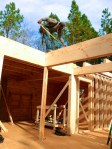
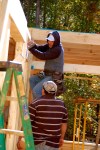
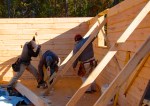
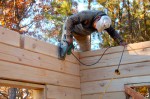
- Carlos and Talon work on the rafters over the Guest bathroom dormer while Nelson and Gordo put down the roof felt while Andy hangs out and drinks coffee 🙂
-

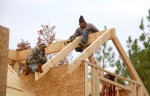
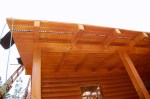
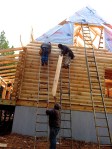
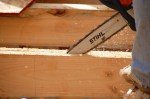
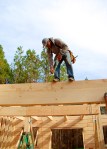
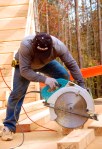
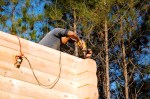
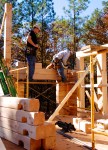
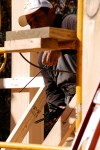
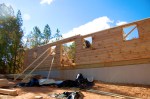
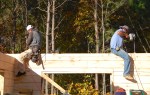
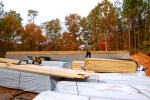
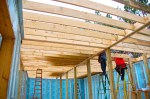
- Nelson and Gordo place roof felt over the tongue and groove, then nail down 2″ x 4″s on top of that
-
- it was freeeeezing out and Nelson is up there in a t-shirt!

-
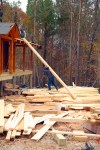
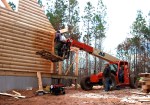
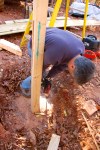
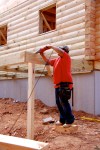
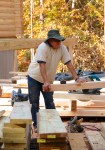
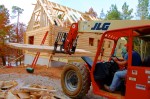
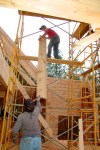
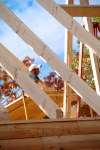
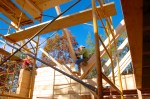
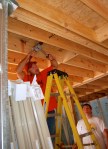
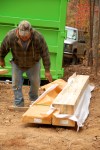
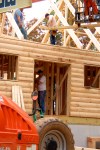
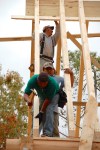
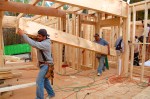
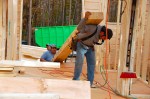
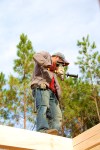
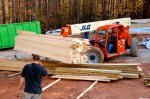
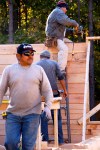
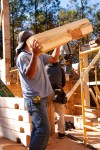
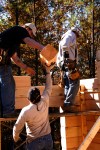
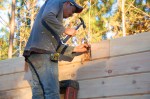
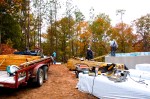
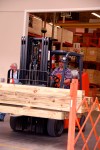
- Mateo hoists another timber up to Miguel
-
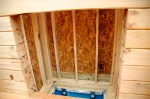
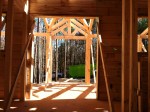
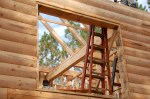
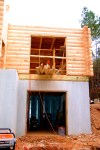
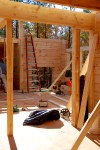
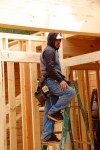
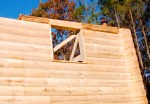
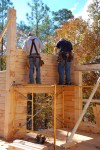
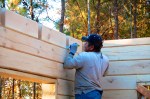
- this will be the window to the guest bath on the second floor

-

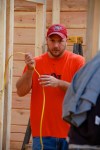
- love Talon’s Hokie hat!
-
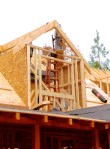
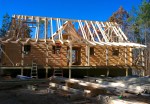
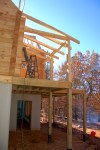
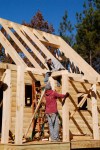
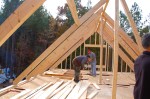
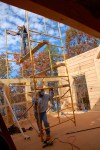
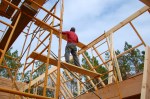
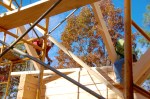
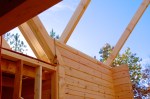
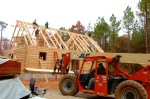
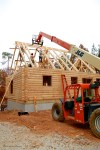
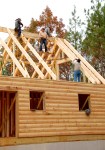
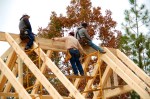
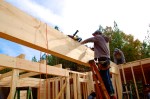
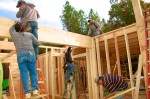
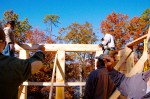
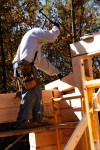
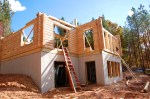
- Carlos and Talon continue to build the roof over the bathroom dormer
-

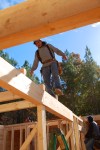
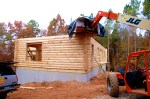
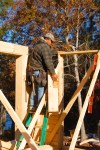
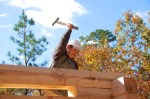
- Miguel poses for a photo standing at the highest point of the roof!
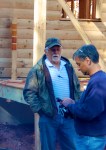
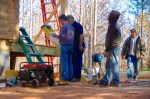
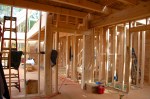
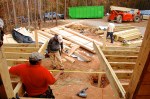
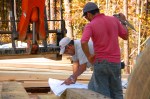
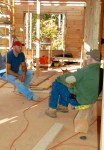
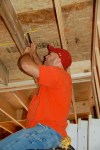
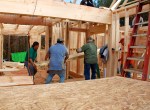
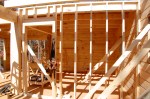
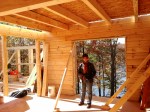
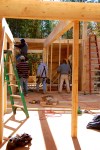
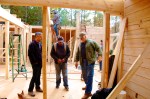
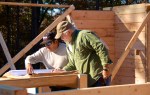
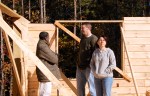
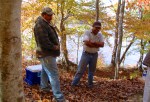
While around back, the fireplace box was being closed in, inside Dave discussed with Andy and José whether or not we could remove one of the off center rafters in the great room ceiling. In the end we decided to keep it even though structurally it would have been fine with out it, taking it out would be more of a hassle than it was worth. Andy pointed out that once the tongue and groove ceiling was in and the cross ties up, there would be so much going on up there that we wouldn’t notice it.
-
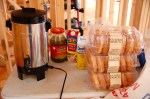
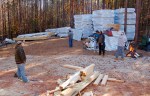
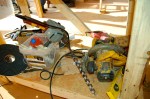
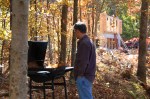
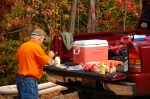
- nothing like hot coffee and glazed donuts on a blustery morning…oh and jalepenos of course
-
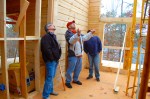
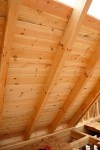
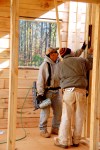
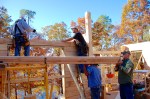
- Dave, Andy and José discuss the off center beam placement above
-

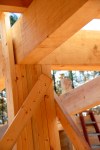
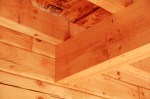
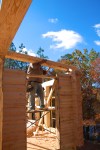
- the off center beam that was driving Dave crazy
-

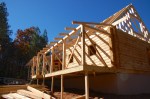
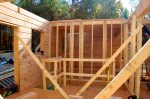
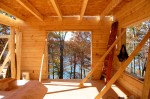
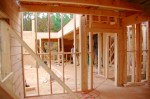
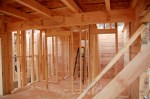
- second floor bedroom is coming along
-
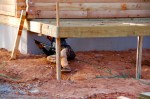
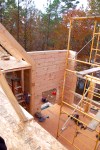
- the fireplace box from the inside
-
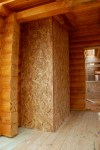
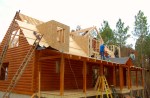
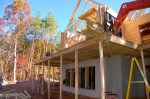
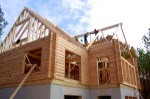
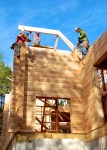
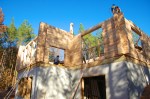
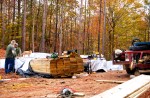
- fireplace box from outside…the master bedroom is to the right
-
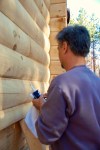
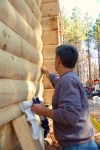
- tongue and groove on the front porch ceiling
-
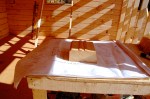
- tongue and groove on the second floor ceiling
-

- more of the second floor tongue and groove

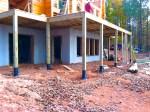
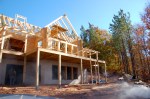
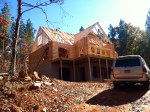
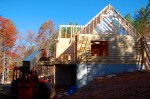
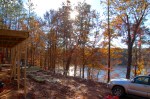
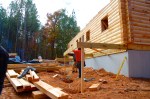
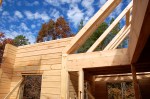
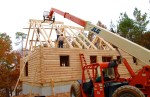
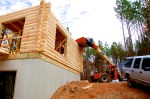
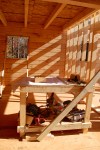
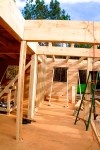
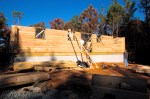
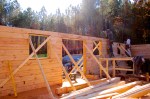
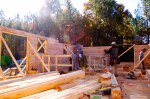
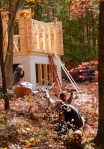
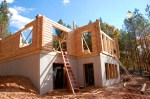
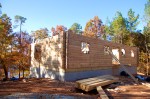
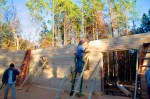
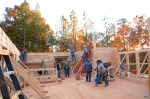
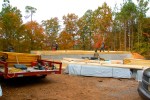
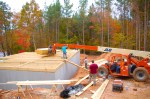
view of the back of the cabin today


Recent Comments